In this session we were shown how to invert a colour photo into black and white photo and some other effects using Photoshop.
There are two ways of inverting a colour photo into a black and white photo. First is by
Selecting the image -> Image -> Mode -> Gray scale
 |
| the original photo |
 |
| Inverted into Black & White photo |
OR
Select -> Adjustment -> Black and White
We were shown how to bring colour to black and white image by Duplicating the layer with the original photo, changing it to an Black and White image and then playing with the '
'Opacity'' - by this way we bring back colour to the image.
 |
| the original coloured photo |
 |
| The photo after inverted it into a Black & White photo, and then bringing back colour with the ''Opacity'' tool |
We were show how to put a different colour to the image. We had to create a new layer, fill it with the colour we want and then click on '
'Multiply''. That blends the original photo with the colour. Then we can play around with the opacity to change the intensity of the colour.
We were shown how to put a photo over another photo.
Choose a photo. Create a new document with a photo we want to place above. Then go to
Edit-> Copy. Go back to the document with the original photo -
Edit -> Paste special - Paste into, then play with the
''Opacity'' to reveal the photo under.
 |
| The first ''Document'' with the photo I chose |
 |
| The second ''Document'' with the photo I want to place above the photo from Document 1 |
 |
| Back to Document 1 |
 |
| Playing with ''Opacity'' to reveal the photo under |
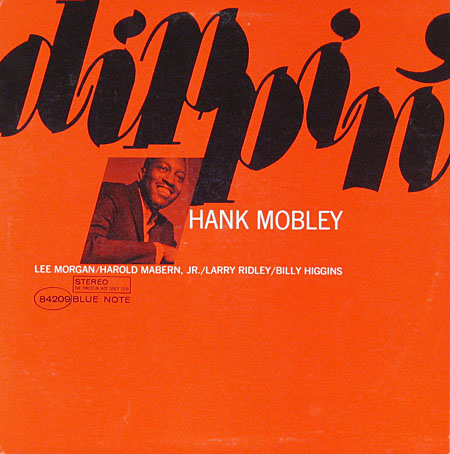
We were also shown how to make image in typeface:
Type text with
''Horizontal type mast tool'' -> Select -> Inverse -> Make new layer -> Fill the new layer with colour -> Press "Enter"
 |
| Typing mask |
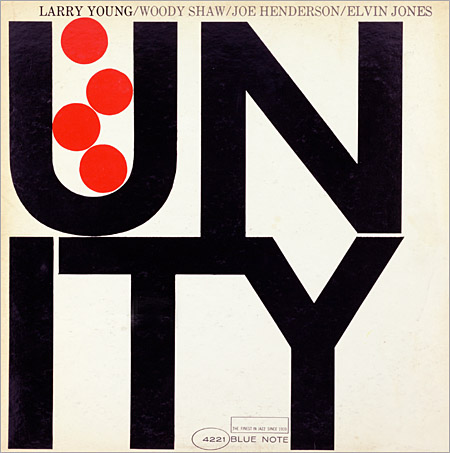
 |
| Fill the new layer with colour |
We looked at different Effects in Photoshop, such as adding to a photo a ''Newspaper'' effect
We tried different effects from the ''
Filter Gallery"